How to Make the Most of Your First Year with Smiler: A Beginner’s Roadmap to Success

If you're just starting out or looking for a better way to run your photography business, Smiler got the tools to help you succeed! With Smiler by your side, you’ve got a powerful toolkit designed to streamline the chaos, save time, and wow your clients.
This guide is your roadmap to making the most of your first year with Smiler, helping you build a photography business that’s not only successful but also sustainable.
Step 1: Set Up Your Storefront
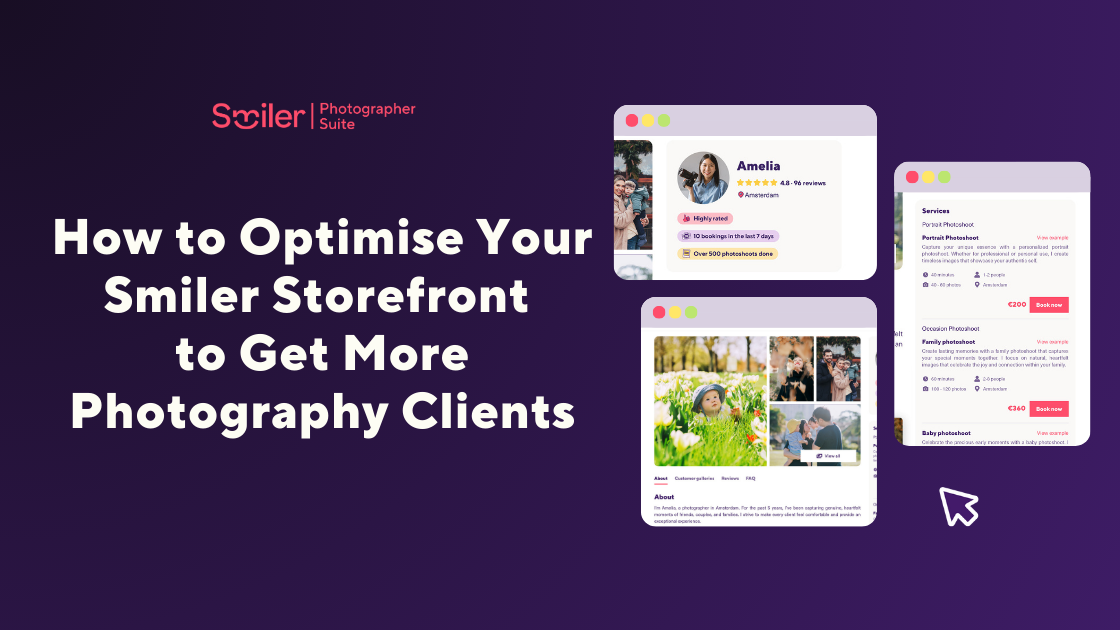
Your Storefront is the heartbeat of your Smiler experience. It’s where potential clients learn about you, browse your portfolio, and book their sessions. Here’s how to create a Storefront that's going to become your booking driver:
Create a Strong Profile
- Add Your Best Shots: Showcase a mix of the work you're most proud of. Highlight your unique style and specialties.
- Clearly Define Your Services: Use Smiler’s Service features to outline details like session duration, number of photos included, pricing, and locations you cover. Clients appreciate transparency and it reduces back-and-forth queries. We'll dive deeper into this feature in a bit!
- Optimise for SEO: Use keywords that potential clients are likely searching for, like “family portraits in [Your City]” or “professional wedding photographer.”
If you'd like to learn more about how to optimise your Storefront, check out our latest article. We dive into some effective strategies that can really make your profile stand out to potential clients.

Pro Tip #1:
Clients love ease and clarity. With Smiler, you can:
- Automate bookings and reduce back-and-forth emails.
- Allow clients to see availability, choose services, and pay—all in one go.
Test your Storefront as if you were a client to ensure the experience is seamless. Does it answer all the questions clients might have?
Step 2: Master Booking Management
Bookings are the lifeblood of your business, and Smiler has tools to ensure no opportunity slips through the cracks.
Avoid Common Mistakes
- Respond Quickly: Responding quickly to inquiries can significantly boost your chances of converting leads into clients. Leads are 21x more likely to convert if you respond within five minutes. Smiler’s automation takes care of confirmations and follow-ups, ensuring timely communication without the stress.To make the most of this, be sure to monitor the messages you receive through your.
- Stay Organised: Connect your Google Calendar with your Suite to avoid double bookings or scheduling conflicts. Every booking automatically syncs, blocking off your calendar to prevent errors.
We've compiled a list of the 5 most common booking mistakes photographers make so you can learn from them and steer clear. Check out the full article to ensure your photography business operates more efficiently and effectively.

Pro Tip #2:
Use custom payment links for additional charges, upsells, or rush fees. Requiring deposits through Smiler not only ensures commitment but also improves cash flow. With support for over 40 currencies and multiple payment methods, Smiler simplifies the process and makes it professional. Clients value this clarity, and you’ll minimise no-shows while securing your finances.
Step 3: Wow Clients with Smiler Galleries
Delivering photos isn’t just about the photos. It’s an opportunity to impress and delight your clients. Smiler’s online galleries are mobile-friendly, polished, and easy to use, making photo delivery a highlight of the client experience.
How to Use Smiler Client Galleries
- Upload with Ease: Drag and drop your photos into Smiler’s platform for an instant and secure gallery creation.
- Customise: Decide if your galleries should be watermarked, free-to-download, or require payment for downloads. Smiler’s watermarking protects your work while showcasing it professionally.
- Share Securely: Generate a shareable link for clients. They can view and download their photos seamlessly on any device.
Clients often can share their galleries with friends and family, amplifying your brand visibility. Plus, the smooth and intuitive experience ensures they’ll be thrilled with your service.
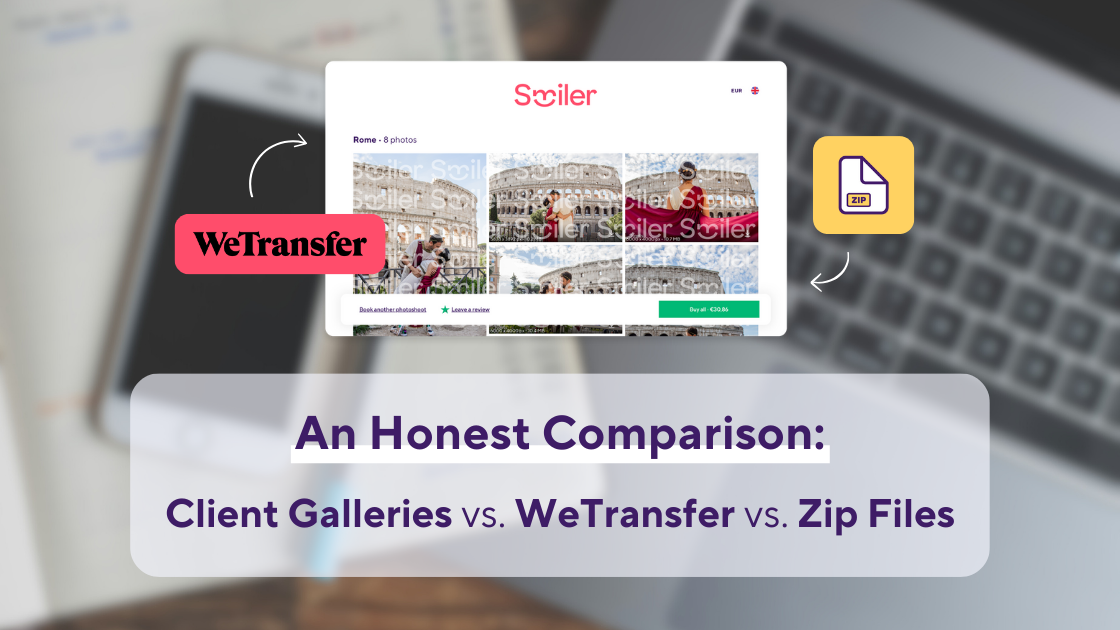
Check out our latest article where we put Smiler to the test against other popular photo delivery methods! Discover why more and more photographers are choosing Smiler for a hassle-free, professional experience.

Step 4: Simplify Payments
Getting paid shouldn’t be a headache. Smiler’s flexible payment tools are built to make transactions seamless and stress-free.
Why Use Smiler Payment Links?
- Accept over 30+ currencies in 10+ methods to suit each client - making your services ideal for international clients.
- Easily request deposits, final payments, or additional charges like rush fees.
- Automatic tracking keeps your finances organised and transparent.
How to Get Started
- Add your payout details in the Smiler dashboard. Rest assured—Smiler only uses this information to deposit your earnings.
- Generate payment links directly from the booking or gallery. Share these links via email or text for quick and easy payments.
- Monitor and track payments effortlessly from your dashboard, with options to send reminders for outstanding balances.
Pro Tip #3:
Highlight the convenience of payment links to clients upfront, so they know what to expect.
Step 5: Grow Your Business with Reviews
Happy clients are your best marketing tool. Use Smiler’s automated review requests to collect testimonials and build your reputation.
Encourage Feedback
Thanks to Smiler Photographer Suite's streamlined tools, you don't need to rely on the traditional methods of gathering client feedback through emails or messages. Here are some key features that make it easy to harness client feedback efficiently:
Smiler's automated review collection eliminates the need to manually request feedback, saving you time and ensuring no client is missed. This feature also automates the consent process, ensuring you have permission to use clients' photos in your portfolio and marketing materials without the need to chase down signatures or send follow-up emails. Your client reviews directly showcased on your Storefront, enhancing your credibility and showing potential clients what it's like to work with you!
Pro Tips for Year One Success
- Leverage Automation: Smiler’s tools can save you countless hours. Use your Suite's automation tools to handle bookings, payments, and follow-ups.
- Stay Consistent: Your Storefront makes it easy to update your portfolio and keep your Storefront looking fresh and relevant. Update your Services, portfolio photos, bio as needed.
- Learn and Adapt: At Smiler, we're continually refining our platform based on real feedback from users like you. If you have suggestions or complaints, shoot us a message!
- Let's Stay in Touch: Keep an eye on the emails we send, which are packed with opportunities and valuable information. If you're ever stuck or need assistance, check out our help centre articles here. For direct support, reach out to us at [email protected], and we'll get you sorted out promptly!
Frequently Asked Questions
How do I set up my Smiler Storefront?
Creating your Storefront is easy! Follow our step-by-step guide here to set up your profile, showcase your work, and start booking clients.
What payment methods does Smiler support?
Smiler supports over 40 currencies and 10+ payment methods such as Maestro, Visa, PayPal and Apple Pay. Learn more about setting up and using payment links here.
Can I customise my photo galleries?
Absolutely! Smiler’s galleries allow you to add watermarks, enable downloads, or set them to require payment. Check out our gallery settings guide here.
Does Smiler have a subscription fee?
No, Smiler doesn’t charge a subscription fee! Instead, there’s a small 4% service fee applied to payment links. This fee covers everything you need to run your photography business smoothly, including free gallery hosting, stunning gallery creation, and secure payment processing.


