
Your Complete Tokyo Photoshoot Guide (2026)
 Verified by Marvin Tenepre, Smiler photographer in Tokyo
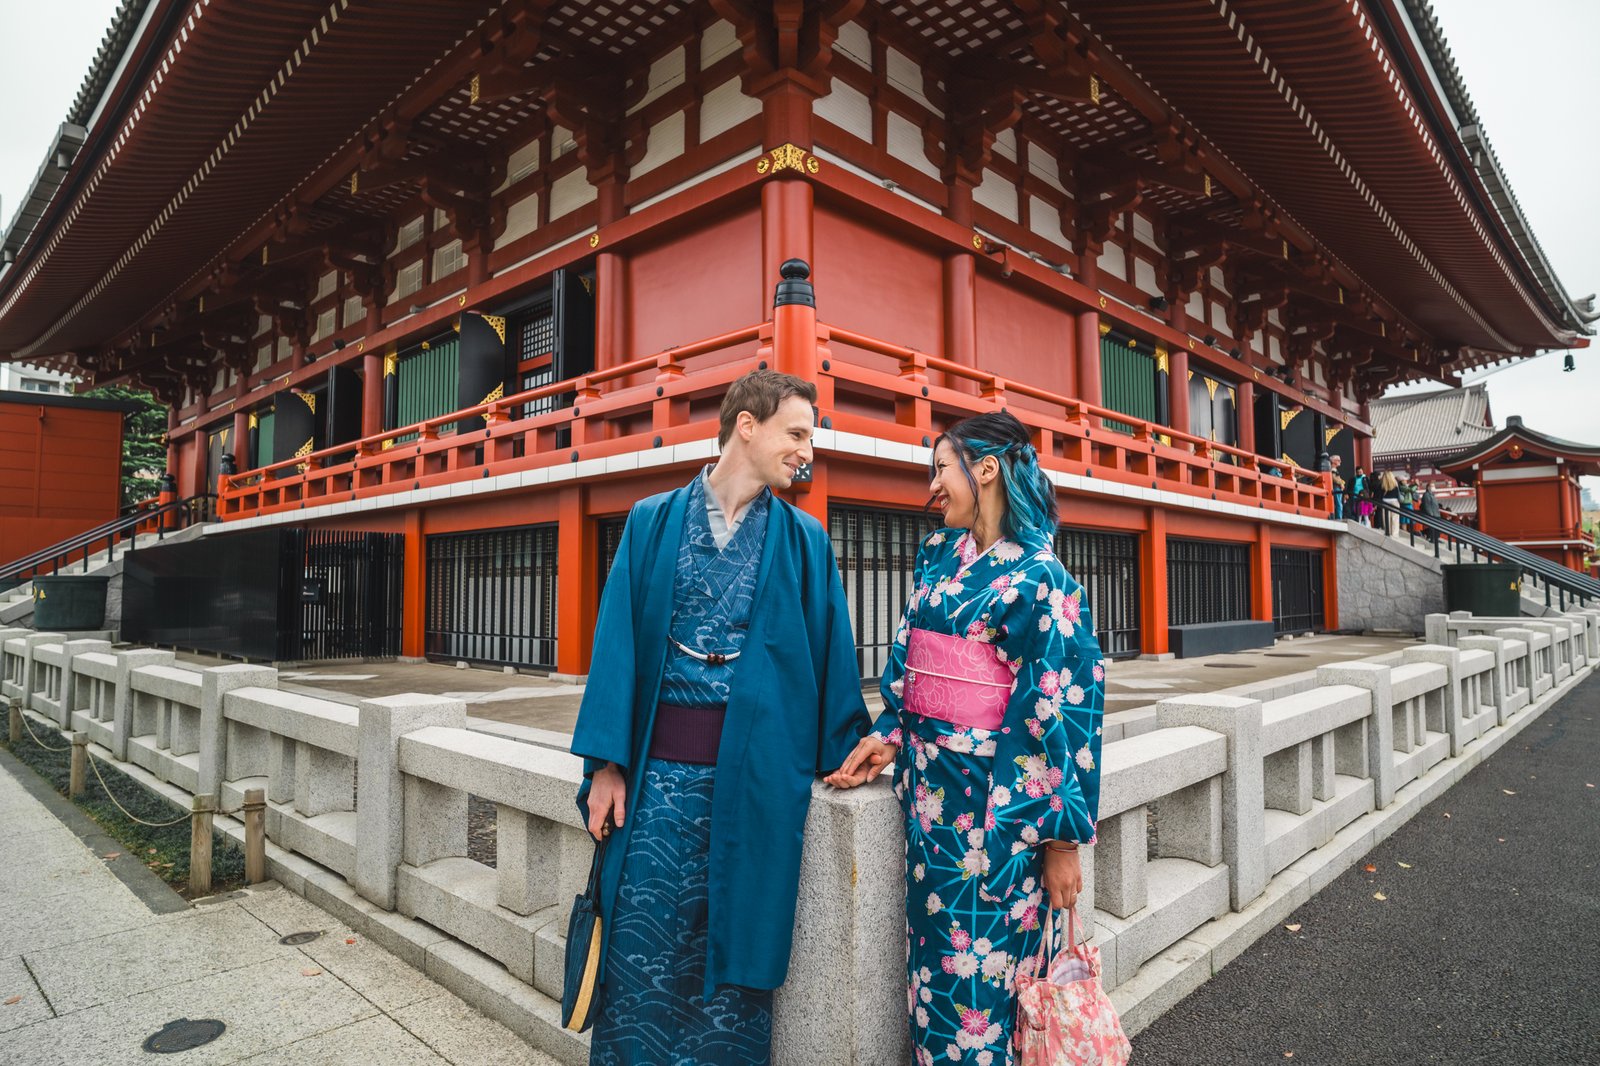
A Tokyo photoshoot works best when you build it around one area and one light window. The city's spots sit far apart and each keeps its own hours: the approach to Senso-ji is at its best before 8:00 AM, while Meiji Shrine is only open between sunrise and sunset. Ask your photographer about the specific window for wherever you're headed, because no single rule fits the whole city. Spring and autumn give the most workable early-light windows, and early morning beats midday in every season.
A local photographer meets you at an agreed spot, works with you for 15, 30 or 60 minutes depending on what you book, and directs with plain, physical prompts, not stiff posing, so nobody needs practice in front of a camera. Kids get short playful bursts instead of forced smiles, and the starting point and route can be worked out with your photographer in the booking chat ahead of time. Every version includes a set number of professionally edited photos, from 10 in the 15-minute session (from €109) up to 50 in the full hour, delivered to a private gallery within 48 hours.
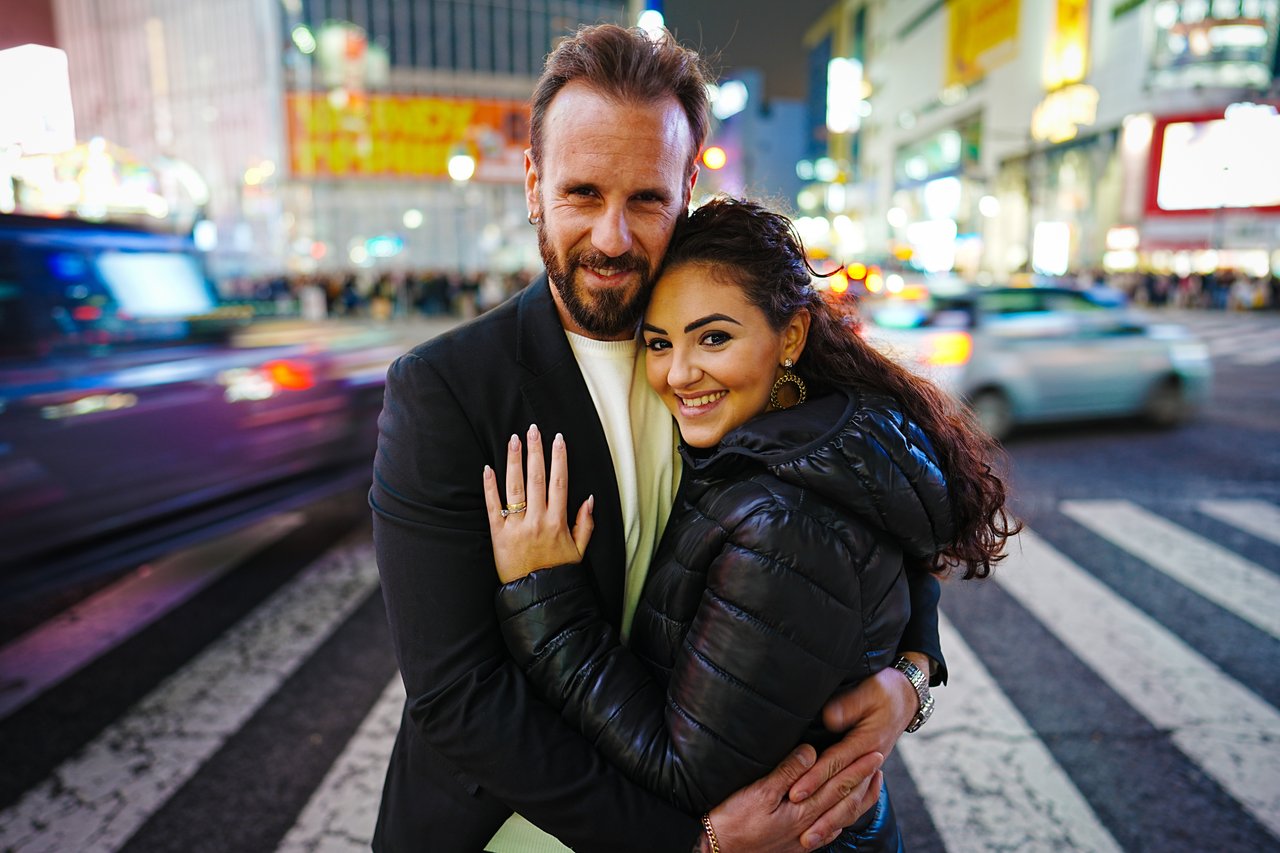
Where you shoot depends on what you want in the background: the scramble at Shibuya Crossing, the forested grounds of Meiji Shrine and Yoyogi Park, or the waterfront at Tokyo Bay. Most Tokyo photoshoot ideas come down to one contrast: crowd against calm, or neon against forest. Weather is rarely a reason to cancel outright, since light rain usually doesn't stop a shoot and plans can shift for free up to 24 hours out.
Want pro photos in Tokyo?
See Tokyo photographers and prices →Local photographer's tip
“Plan your Tokyo shoot for the start of the day, not the end of it. In summer the sun's up around five, and by seven the shrine paths are still quiet and the streets are yours. Get the photos done first, then go and have the longest breakfast of your trip. The whole day feels lighter after that.”
— Marvin Tenepre, Smiler photographer in TokyoPlanning Your Shoot, Step by Step
Booking a photographer in Tokyo is the easy part. A good shoot starts with a few decisions made early: the spot, the session length, and an outfit that survives a subway ride. In Tokyo the spot decides most of the rest. Senso-ji is a before-8:00 AM booking, Shibuya Crossing is shot handheld because the crowd never stops moving, and the two are too far apart to share a short session. The best time of day for a photoshoot in Tokyo is early morning, before the crowds build, or the hour before sunset; golden-hour slots around sunrise and sunset add €35, shown before you pay. The starting point and route are settled with your photographer in the booking chat before the shoot, so the steps below run from booking to download with that conversation in the middle.
Photoshoot by Laurence Bouchard, Smiler photographer in Tokyo
- 1
Pick Your Spot and Session Length
Match the spot to what you actually want in the photos: open sky and motion at Shibuya Crossing, forest calm at Meiji Shrine, water and skyline at Tokyo Bay. A 15-minute session gets you in and out with 10 photos; a 60-minute session gives room for 50 and a slower pace if you want to linger rather than rush the light.
- 2
Book and Agree the Meeting Point
Booking locks your fixed price online, nothing changes hands on the day, and the exact meeting point is agreed right there at booking through a chat with your photographer, who can share live location so you're not standing on the wrong corner. The mistake people make is treating the route as an afterthought instead of settling it up front, before travel days get busy.
- 3
Plan Around the Light, Not the Clock
Tokyo's sunrise and sunset shift by season, so check your season's window rather than assuming a fixed hour, and build your booking time around it. Golden hour at west-facing spots like the Yuyake Dandan stairs fills up fast on clear evenings, so treat sunset there as a deadline, not a suggestion.
- 4
Choose an Outfit That Moves With You
Bring nothing on the day except what you want to wear and any props: no printouts, no payment, no gear. Outfit changes are fine if you flag them with your photographer beforehand, but pack layers that survive walking, since a Tokyo photoshoot often covers more ground than people expect between a shrine path and a crossing. Avoid stiff shoes; you'll be moving more than posing.
- 5
Let the Photographer Direct, Don't Pose
Expect simple prompts and movement cues rather than stiff poses, and if you're shooting with kids, expect short playful bursts instead of forced smiles. The common error is over-rehearsing expressions beforehand, when the point of the direction is to catch you reacting, not performing.
- 6
Review, Select, and Download
Photos are professionally edited and land in a private online gallery within 48 hours, where you pick favourites and can purchase extras beyond what's included. Download in full resolution for personal use, print or share freely. People often forget to check the gallery promptly if they're still travelling, so set a reminder for two days out so nothing sits unclaimed.
Where to Shoot in Tokyo
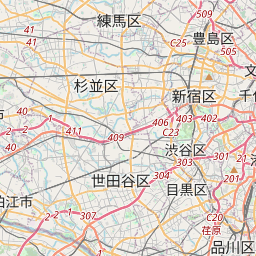
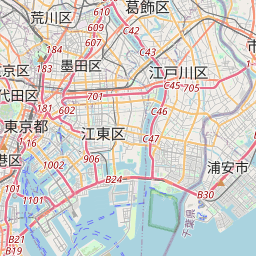
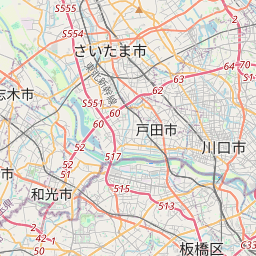
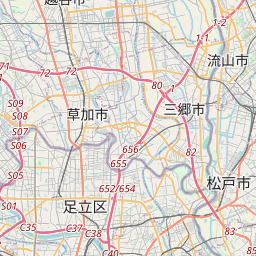
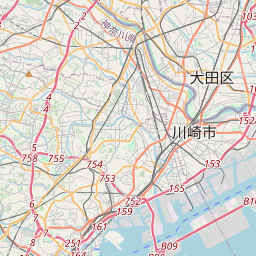
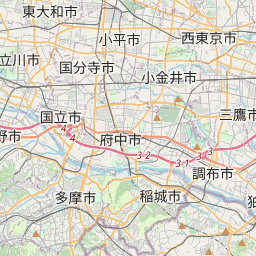
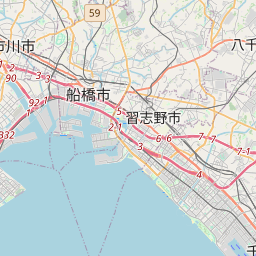
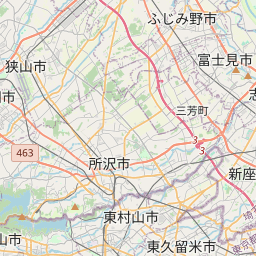
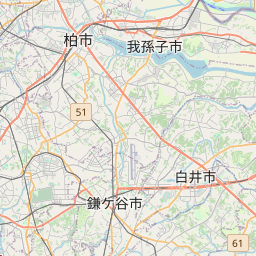
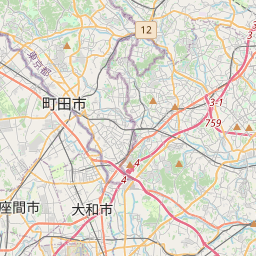
Each of these spots gives a Tokyo photo session a different backdrop, and the block below describes them one by one. What it can't show is how they sit on the map. Meiji Shrine and Yoyogi Park and the Meguro River are on the west side of the city, each about 2 km from Shibuya Crossing in a straight line. Senso-ji and the Yuyake Dandan stairs are in the north-east, roughly 10 km away, and Tokyo Bay stands apart from both. If you want two backdrops in one session, choose them from the same side and agree the route with your photographer in the booking chat.
Photoshoot by Marvin Tenepre, Smiler photographer in Tokyo
1 Shibuya Crossing
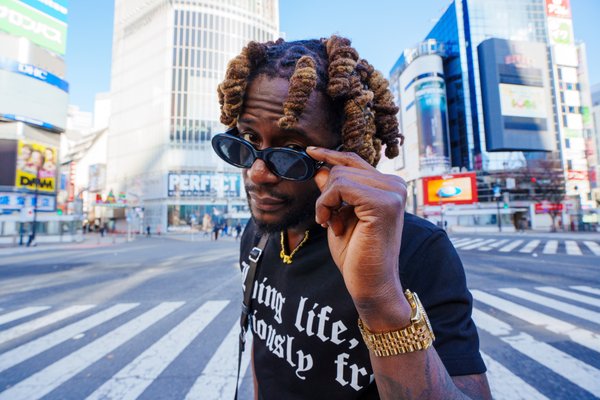
The scramble crossing gives you motion and scale: neon signs, the wall of pedestrians, that sense of Tokyo moving fast around you. It reads as pure energy, distinct from the calmer spots on this list.
14 photoshoots in the last 12 monthsfrom €109crowds: high
Best time: Early morning before the crowds build, or blue hour when the signage glows against the sky
2 Meiji Shrine and Yoyogi Park
Gravel paths, torii gates and a forest canopy give a calmer, greener mood than almost anywhere else in central Tokyo, a natural contrast if pairing with a busier spot the same day.
from €109crowds: medium
Best time: Morning, while the paths are still soft with light and quiet
Tip: Photography of the main sanctuary during prayer or ceremonies is off-limits, so the outer grounds and forest path are the focus.
3 Tokyo Bay (Odaiba Beach)
Open water, wide sky and skyline views give a different rhythm from the temple and street spots: more space to move, more room for full-body shots against the water.
from €109crowds: low
Best time: Late afternoon into sunset, when the skyline catches the light
Tip: The open shoreline gives more framing options than most spots, useful if wind or crowds rule out a first-choice location that day.
4 Senso-ji Temple & Nakamise-dori, Asakusa
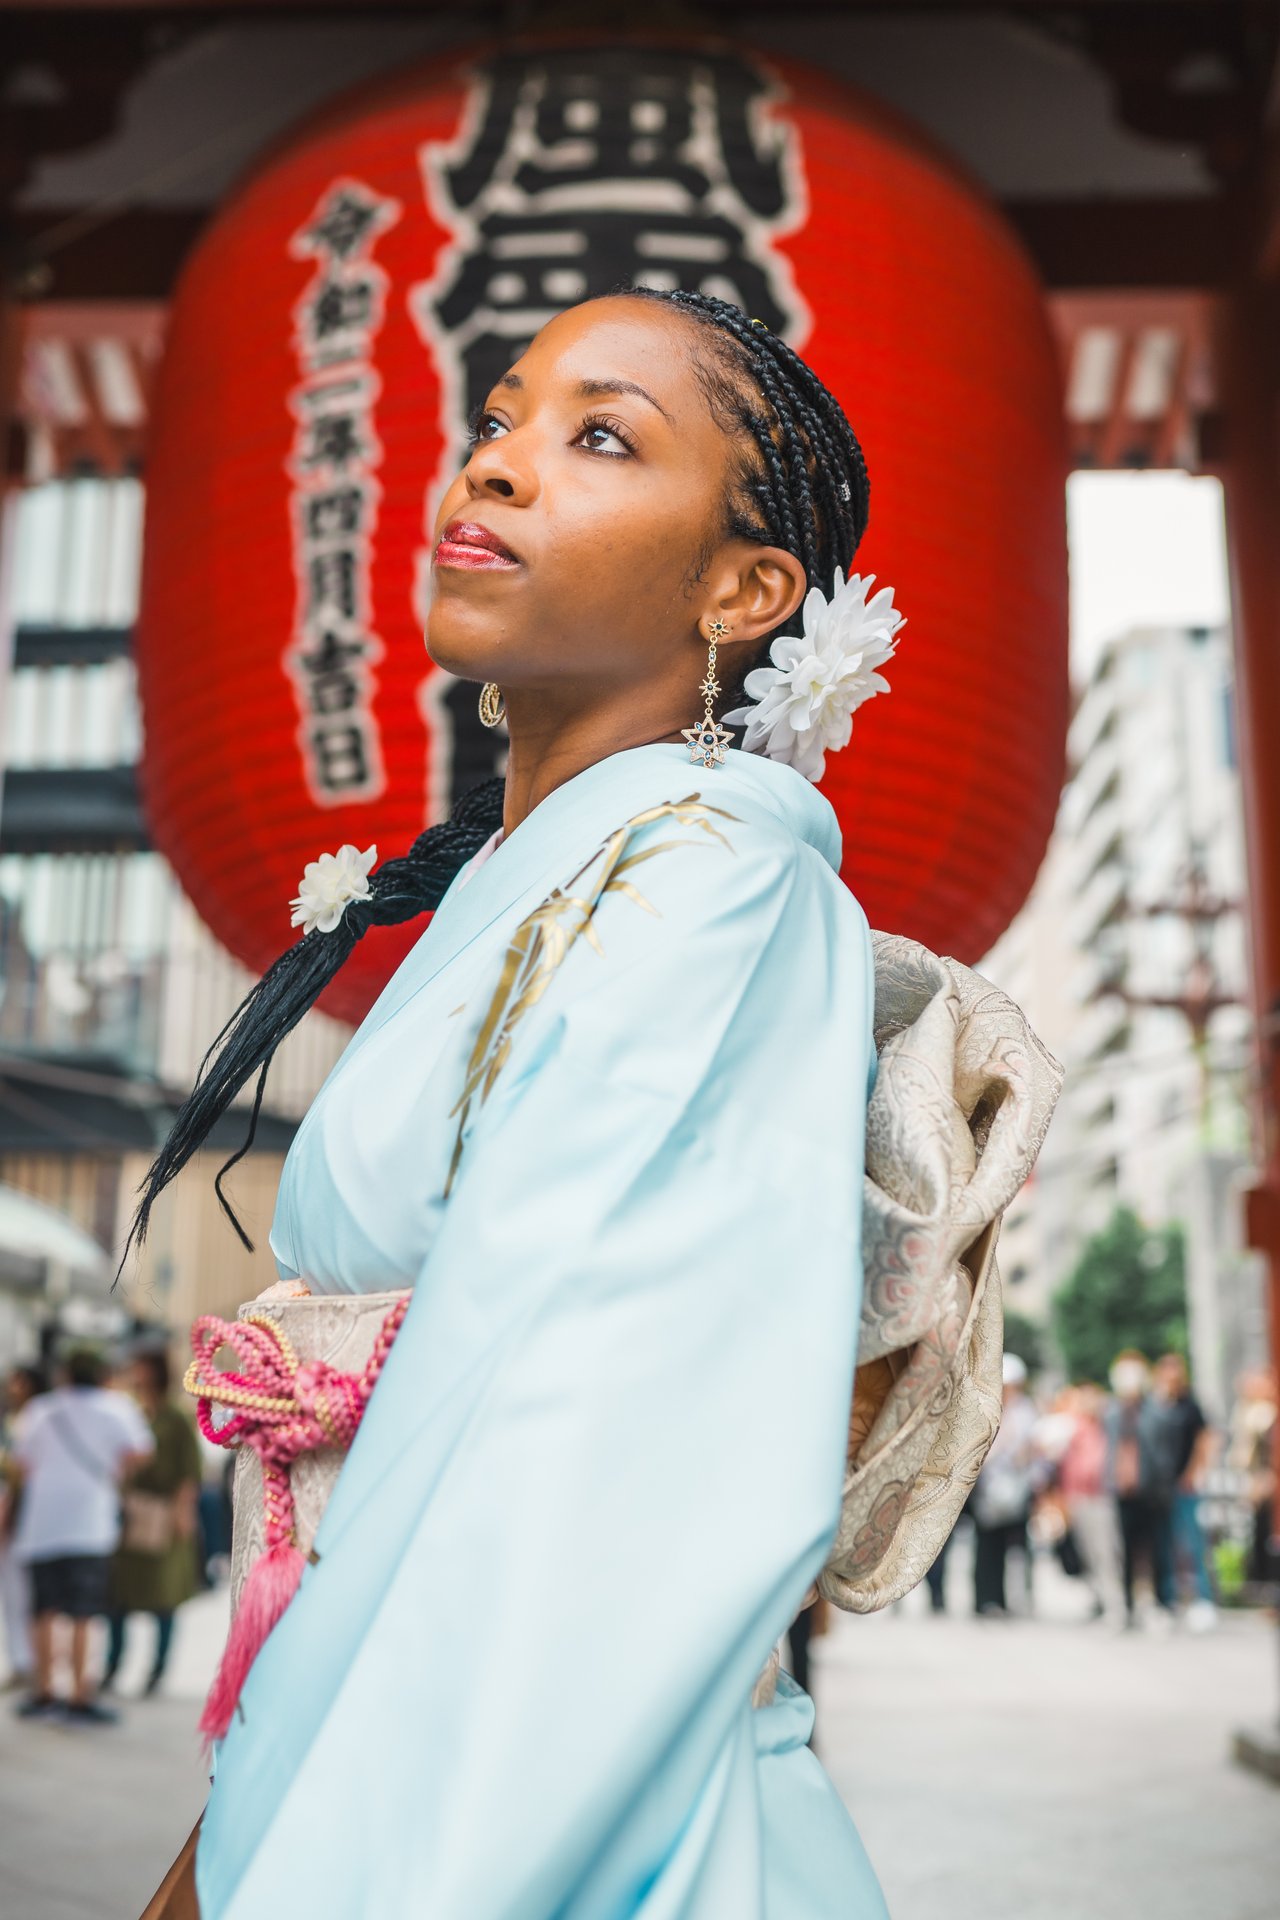
Tokyo's oldest temple district: a giant lantern, a shopping street of traditional stalls, and a rhythm that shifts completely between early morning and midday.
crowds: high
Best time: Before the shutters go up on Nakamise-dori, while the approach is still empty
Book any package and agree this spot with your photographer in the booking chat.
5 Meguro River (Nakameguro), near Nakameguro Station
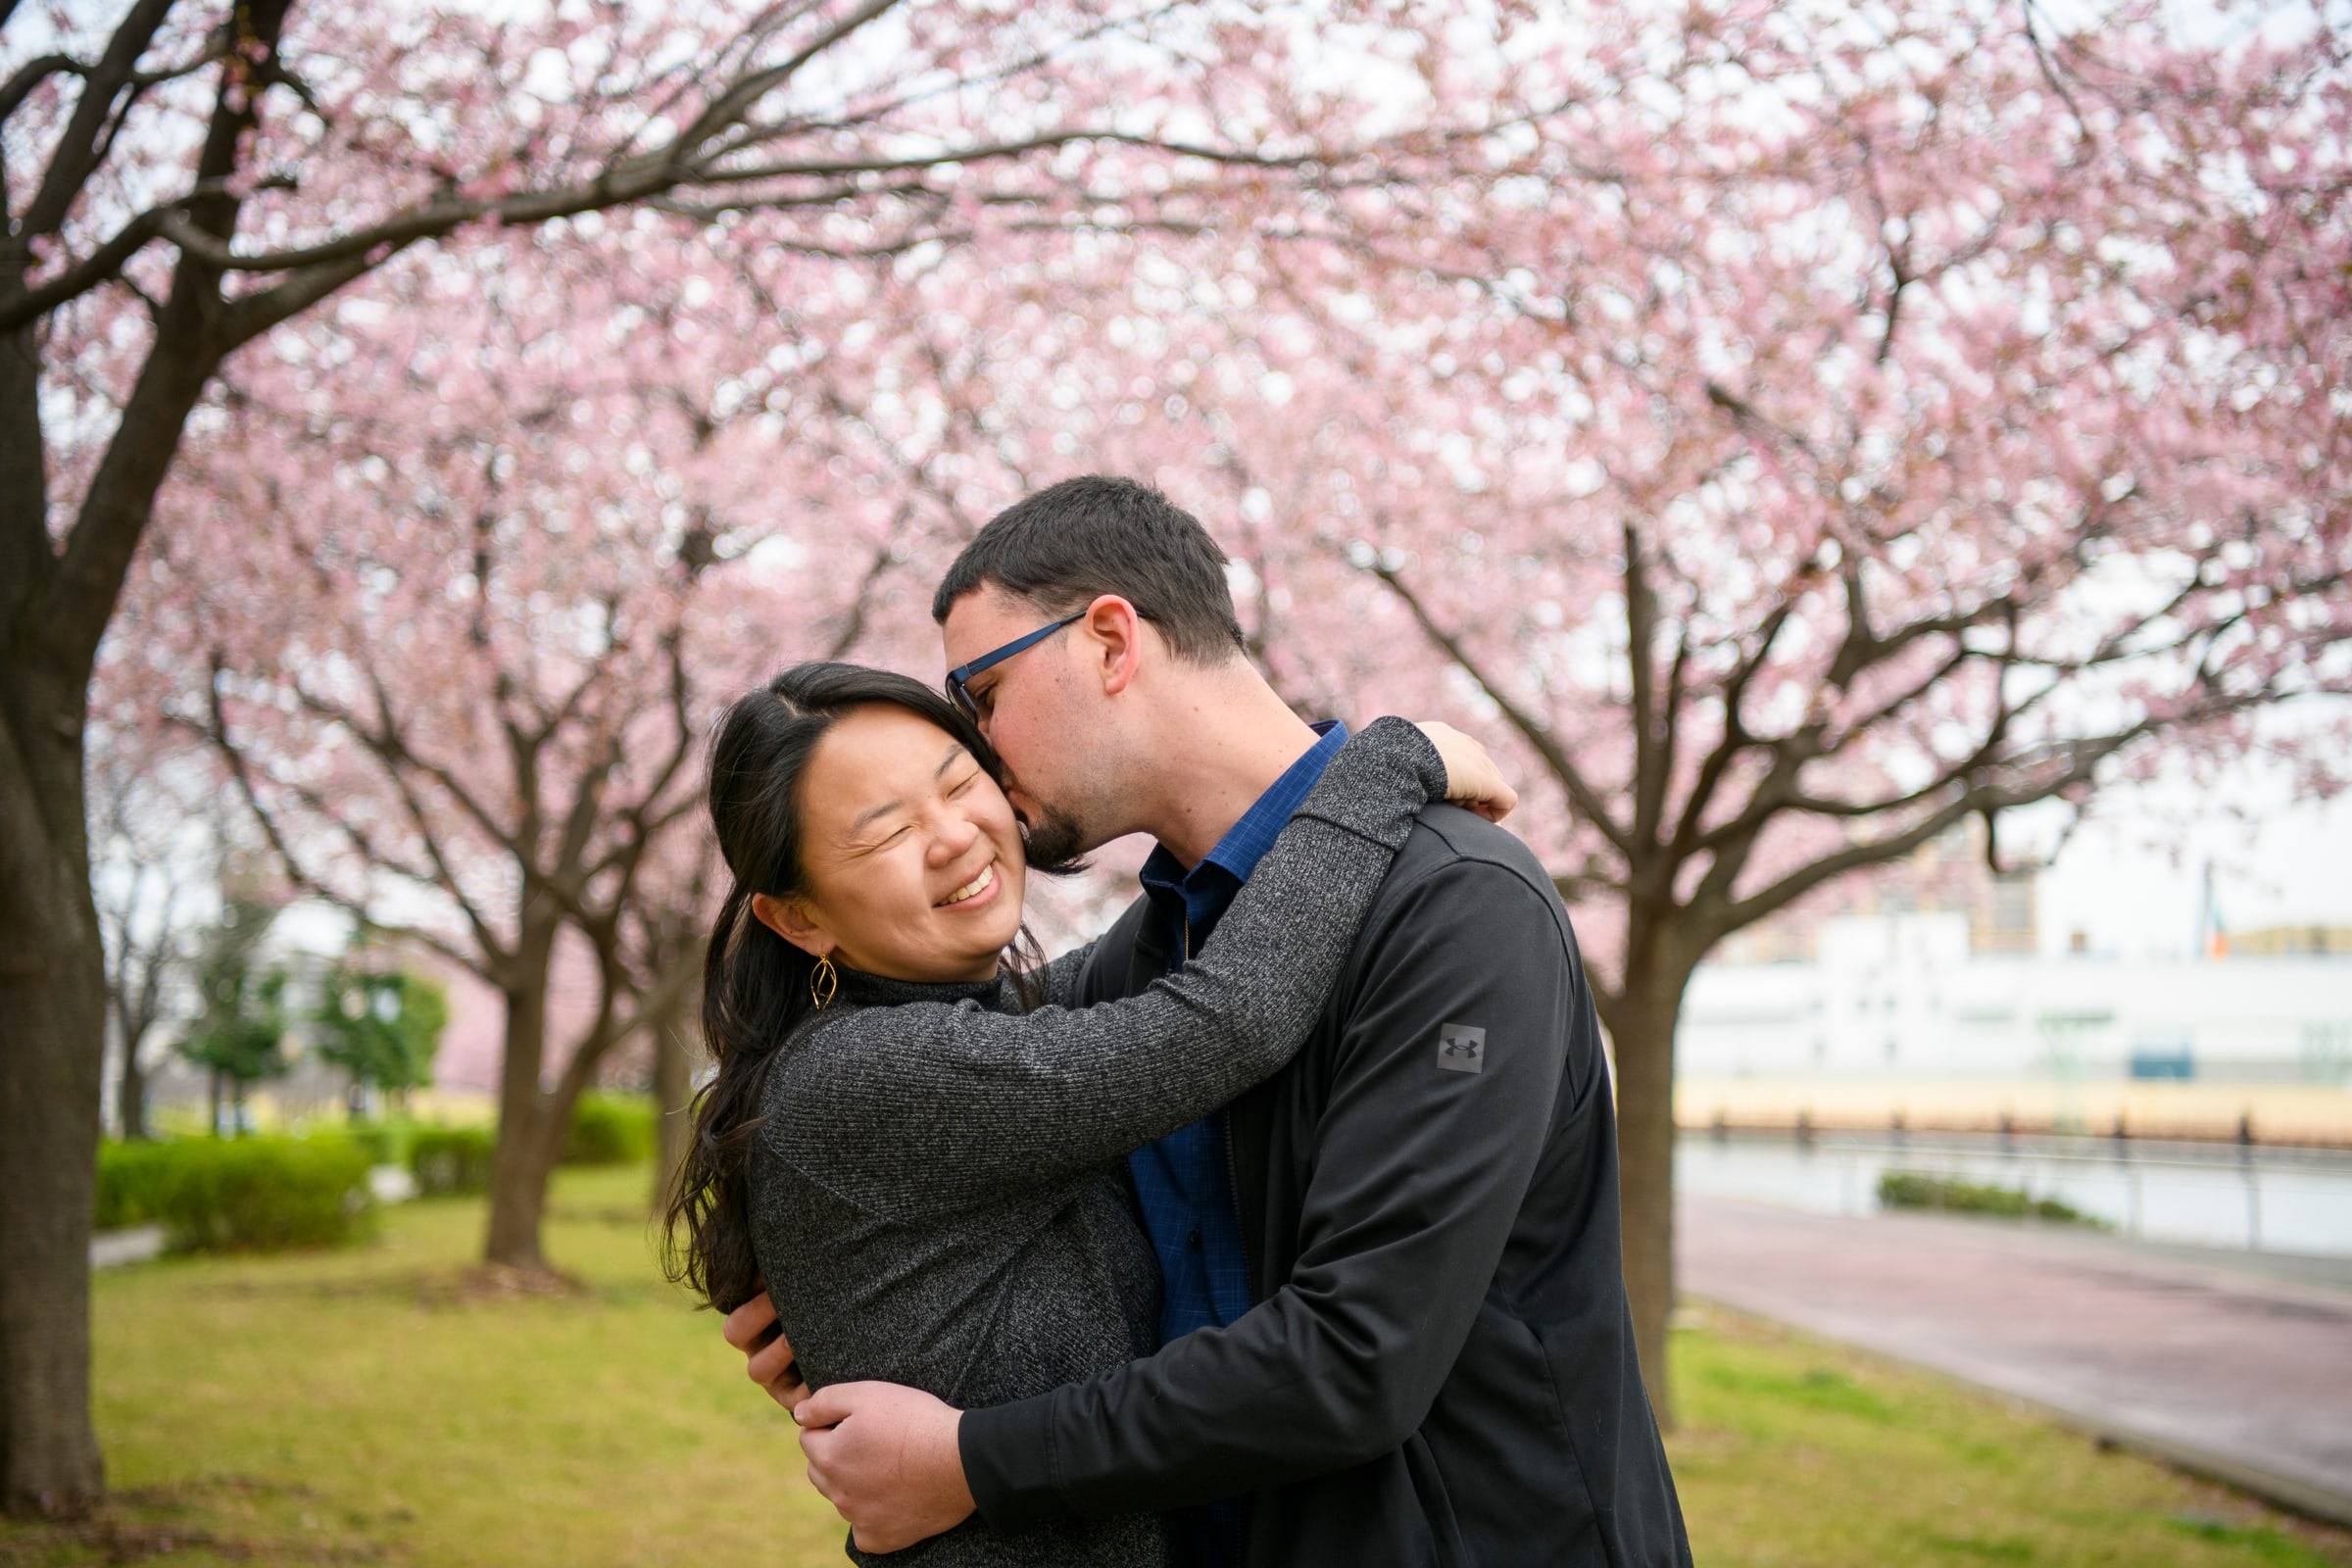
A tree-lined waterway that turns into a tunnel of blossoms in spring and a string of lantern light in the evening during bloom season, calmer and more residential than the big landmarks.
crowds: medium
Best time: Before 9-10 AM for a quieter visit, or during the evening illumination in bloom season
Tip: The riverside promenade gets very crowded on weekend evenings during the illumination, so a weekday visit trades some atmosphere for space.
Book any package and agree this spot with your photographer in the booking chat.
6 Yuyake Dandan Stairs & Yanaka Ginza Shopping Street
A west-facing staircase over a narrow old shopping street, built for golden hour: warm light down the steps, shopfronts and everyday Tokyo life below.
crowds: medium
Best time: Before the sun drops, so you already have a vantage point when the light turns gold
Tip: The steps fill up fast on clear evenings, so arrive with time to spare rather than timing it to the minute.
Book any package and agree this spot with your photographer in the booking chat.
Golden-hour slots add €35; the full price is always shown before you pay.


What to Wear
Solid colours beat patterns almost everywhere on this list: busy prints, small checks and logos fight a busy background instead of standing out from it, and they date the photos faster once you look back. Aim for one or two clean colour blocks per outfit rather than a mix of five.
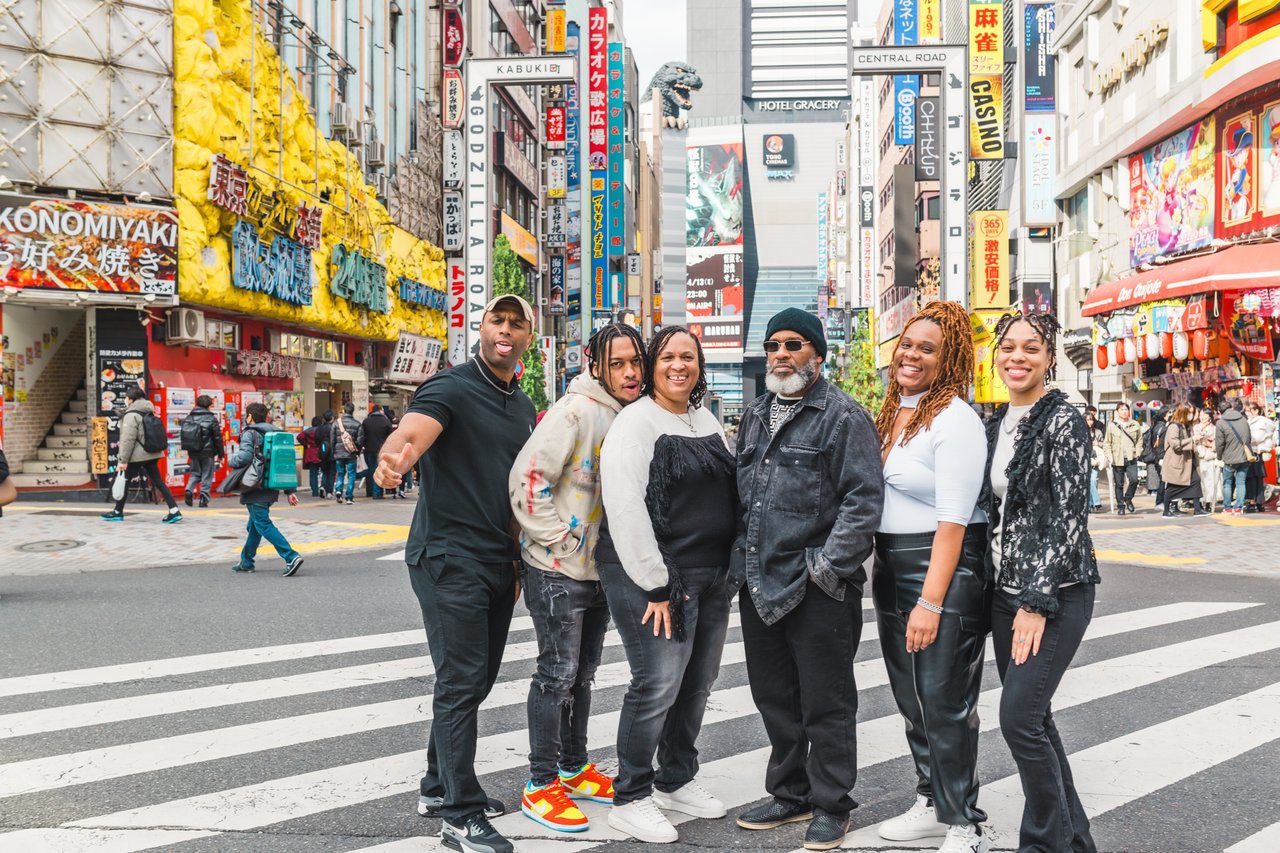
At Shibuya Crossing the backdrop is a moving crowd and a busy streetscape, so a single strong colour reads better than anything muted or head-to-toe black. At Meiji Shrine and Yoyogi Park the setting turns to forest and gravel paths, where soft neutrals and warm tones sit more naturally than anything neon. At Senso-ji the gates and halls are painted a strong vermilion red, so red and orange outfits sink into the background, while navy, cream, white or green stand clear of it. If you have agreed a two-spot route with your photographer, it's worth packing a second outfit, so the two settings don't end up looking like the same five minutes twice.
Couples
Coordinate without matching. Pick one colour family and wear it in two different tones, one deeper and one lighter, so you look like you belong in the same photo without looking like a uniform. At Shibuya Crossing let one of you carry the strong colour and the other stay neutral, which gives the frame one focal point instead of two competing ones.
Families
Keep the whole group to two or three colours and put the children's comfort ahead of style: clothes they have worn before, nothing stiff or scratchy, and a spare top for the smallest. Character prints and slogans on children's tops cause the same problem as logos on adults, so plain is better here too.
Solo
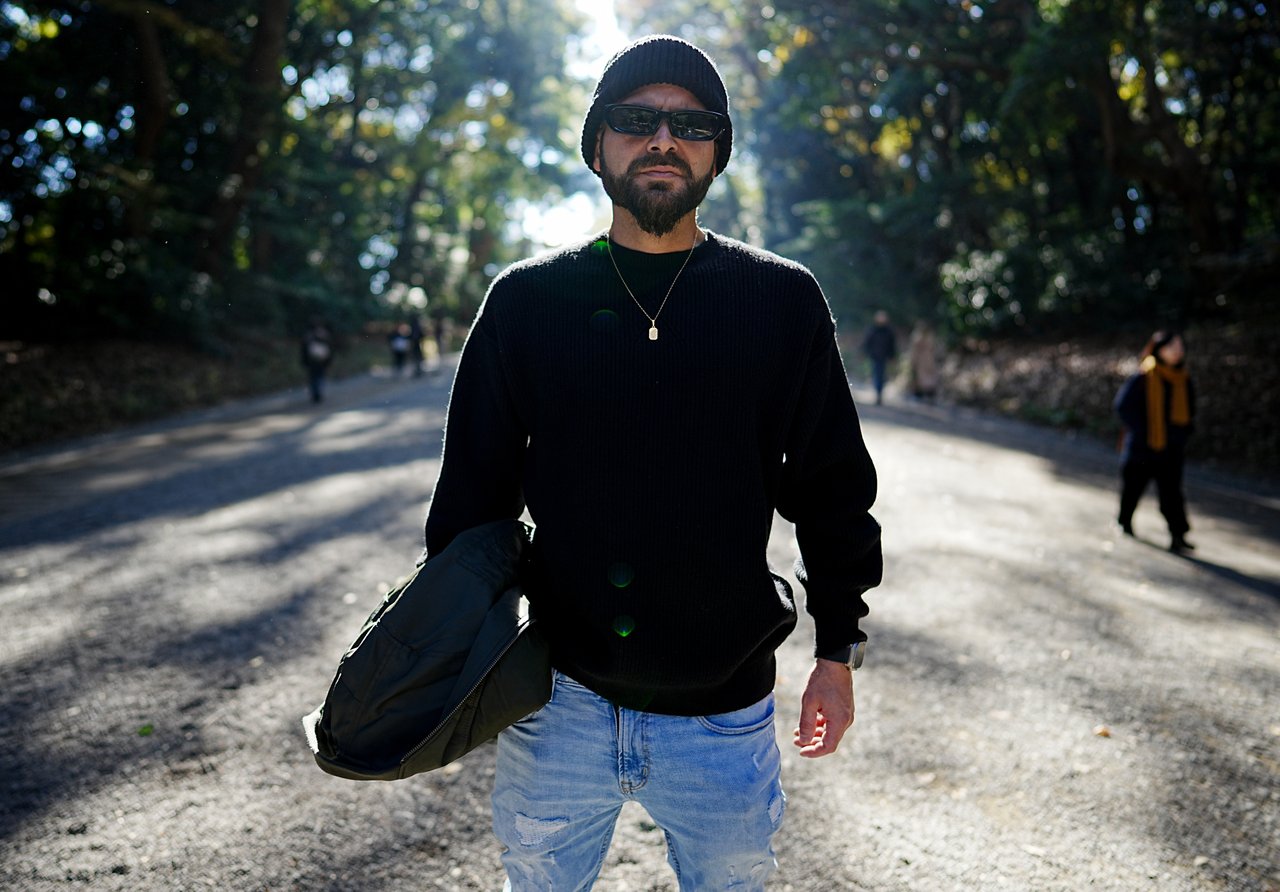
When you are the only person in the frame, fit matters more than colour. Your photographer directs with plain, physical prompts such as walking and turning, so wear something you can move in. A jacket or coat earns its place: worn, open or over the shoulder, it gives three looks without a change of outfit.
Layer for whichever season you land in rather than guessing. Spring and autumn mornings run cool enough for a light jacket you can shed once the sun is up. Tokyo summers are hot and humid and summer sunrise starts early, so breathable cotton or linen works better than anything heavy that you'll be carrying by mid-shoot. In winter the coat is in every frame, so choose it as carefully as the outfit under it. Comfortable shoes matter more than styling here: a great outfit undone by wincing at every step still shows up in the photos, so save the brand-new shoes for after the shoot.
Photoshoot by Laurence Bouchard, Smiler photographer in Tokyo
How the Shoot Actually Works
Delivered photos: 10 at 15 minutes, 25 at 30 minutes, 50 at 60 minutes, all professionally edited
Group size: up to 2 people at 15 minutes, 6 at 30 minutes, 12 at 60 minutes
Private online gallery for downloading full-resolution images
Nothing required on the day beyond outfits or props you want in frame
The session follows a simple order. You meet your photographer at the point agreed in the booking chat, with live location sharing for the last few metres. The photographer leads with plain prompts, keeps you moving along the route you agreed, and stays within one area, since Tokyo's spots are far apart. You bring only the outfits and props you want in frame, and the edited photos follow in your private gallery within 48 hours.
Why Book a Private Photographer in Tokyo
A private photographer in Tokyo means one photographer working with your group only, never a shared tour slot or another couple folded into your session. Booking takes about five minutes: you pick a duration, pay the fixed price online, and that's the last logistics you'll think about, since nothing is due on the day and there's no printout to bring. Before the shoot, you and your photographer trade messages and live location in the same chat, so meeting up at Shibuya Crossing or wherever you've chosen is straightforward.
Sessions run 15, 30 or 60 minutes, and that window is spent moving and shooting rather than standing still for setup. If you're weighing a longer block, this is also where the math on photo count matters: more minutes means more setups, not just more of the same shot repeated, with the delivered count rising accordingly.
What a Vacation Photographer in Tokyo Actually Does for You
A vacation photographer in Tokyo handles direction, light and location knowledge so you just show up and react; you don't pose so much as walk, talk and turn when they call your name. That's the whole job: they've scouted the spot and they keep you moving so nobody's stuck holding a fake smile.
If posing makes you stiff, this setup is built around that. Direction comes as simple prompts, walk toward me, look at each other, laugh at nothing, rather than stiff poses held for a countdown. With kids, photographers switch to short playful bursts and follow their energy instead of forcing them to sit still. Outfit changes are fine too, as long as you've flagged it with your photographer beforehand so they can plan the route around it.
Photoshoot by Marvin Tenepre, Smiler photographer in Tokyo
Want pro photos in Tokyo?
Book a Tokyo photoshoot from €109 →If It Rains
A grey forecast is not a reason to cancel a Tokyo photoshoot. Light rain usually doesn't stop a shoot at all, since a wet street reads fine on camera and both sides simply agree in the moment whether to keep going. If the sky turns genuinely heavy, you and the photographer can agree to move it, and rescheduling or cancelling is free up to 24 hours before the shoot, so a bad radar image costs you nothing. Because the full fixed price is paid online at booking, there's nothing to settle on the day either way. If rain is likely, raise it in the booking chat before the shoot: the route and starting point can be adjusted with the photographer ahead of time, which is the easiest way to keep your photoshoot ideas flexible without losing the session.
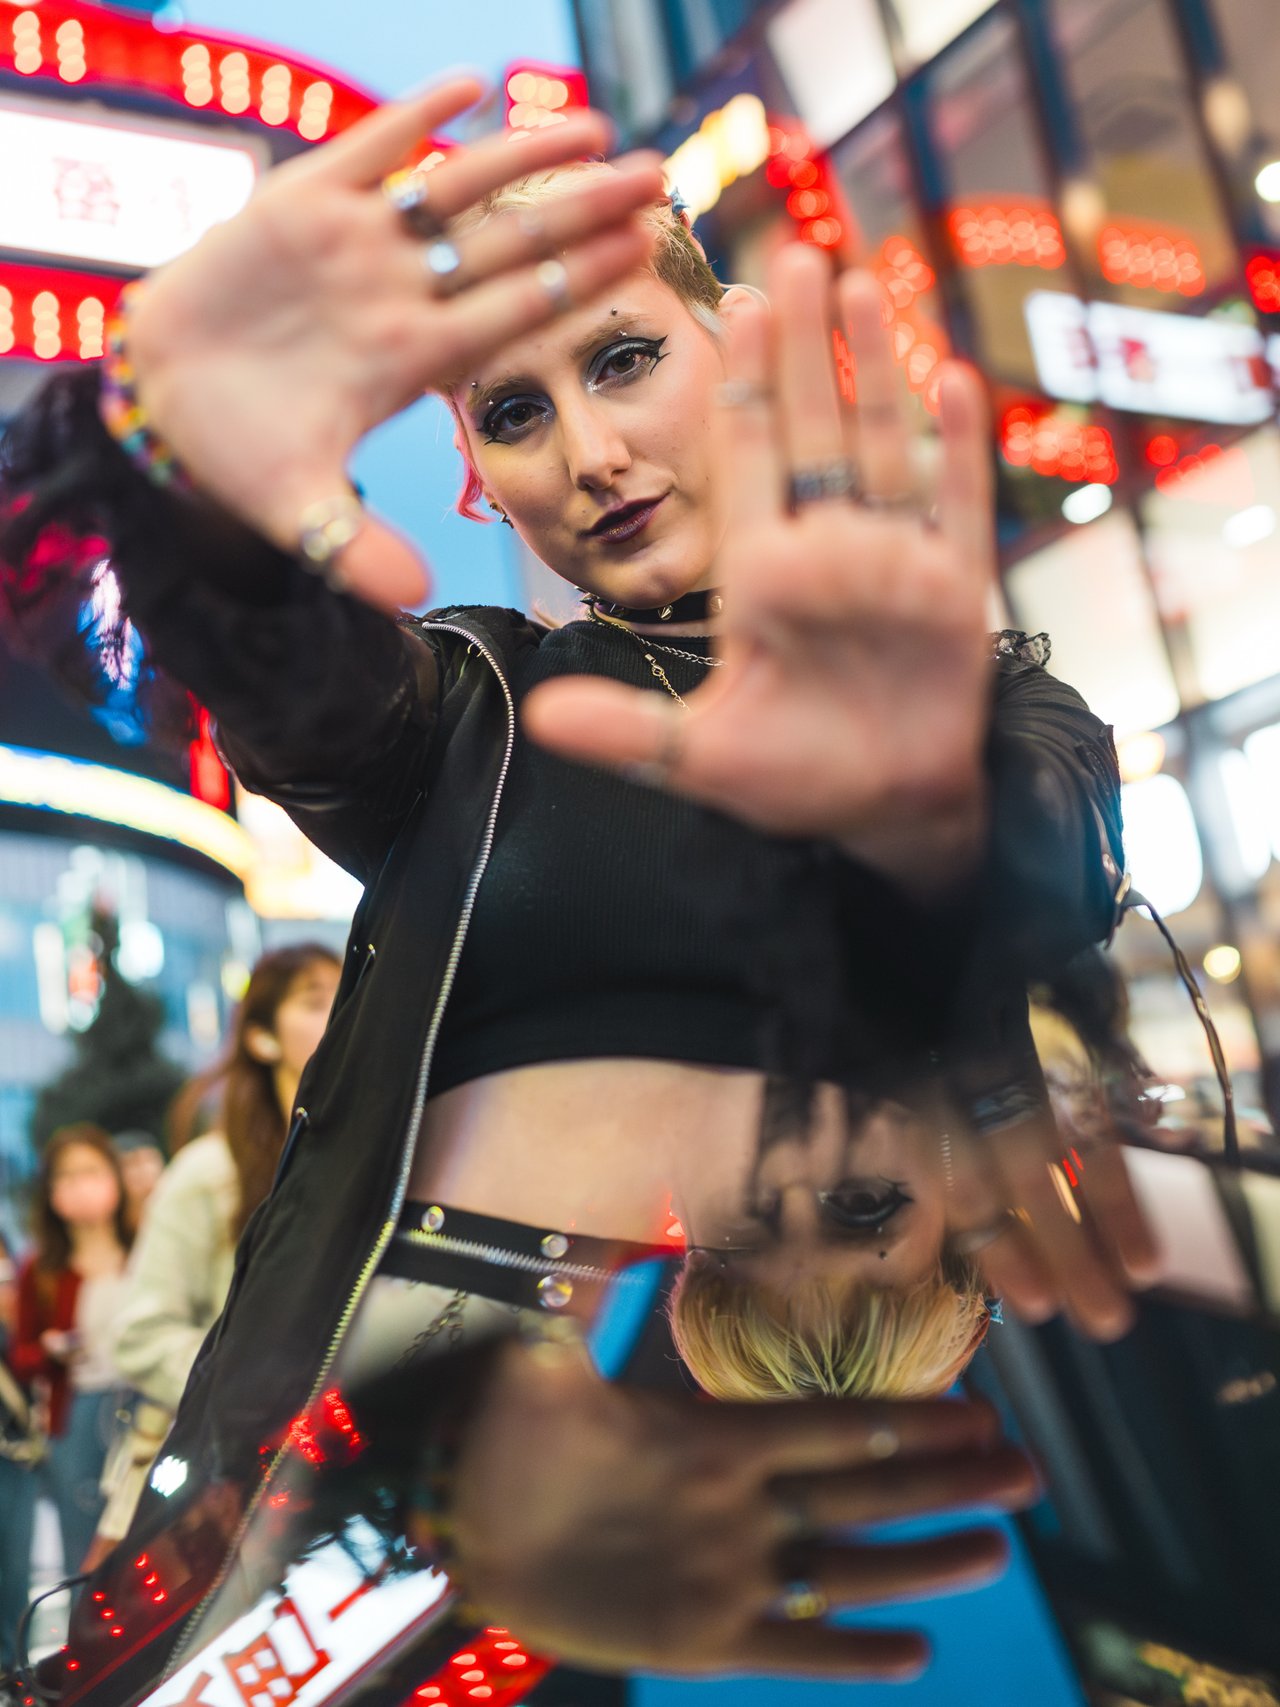
Photoshoot by Marvin Tenepre, Smiler photographer in Tokyo
FAQ: Tokyo Photoshoots
Where do we meet the photographer, and how do we find each other?
The exact meeting point is agreed when you book, tailored to whichever spot you choose. Before the shoot, you and your photographer can chat directly and share live location, so there's no standing around scanning faces in a crowd. That helps most at Shibuya Crossing, where the crowd rarely thins, and the starting point can be adjusted in that chat if plans shift.
I feel awkward in front of a camera, how does the directing work?
You're directed with simple prompts and movement, not stiff formal poses. Photographers give small cues (walk a few steps, look toward the light, react to each other) and won't ask you to hold a smile. No prior experience matters.
Can we change outfits during the session?
Yes, as long as it's agreed with your photographer beforehand. A quick change works well on longer sessions: a strong colour for Shibuya Crossing, for example, and softer tones for the forest paths at Meiji Shrine. Mention it in the booking chat so your photographer can plan timing and a discreet spot for the switch, especially if you're moving between locations.
Is the shoot private, or do we join a group?
Every shoot is private: one photographer working with your group only, never folded into a tour. That matters most at a spot like Senso-ji, where the approach fills from about 9:00 AM and a shared time slot would mean working around strangers as well as the crowd. Pace, poses and stops stay between you and your photographer.
Can I pick a specific photographer?
Yes. You can book a specific photographer from their profile if you want a particular style or have seen previous work, or book a package and get matched with a vetted local instead. Both routes go through the same fixed pricing and the same private gallery delivery, so the choice comes down to how much you care about picking the person.
How and when do I get my photos?
Every delivered photo is professionally edited and lands in a private online gallery within 48 hours, ready to download in full resolution. There's nothing to sign, pay or collect on the day; bring only the outfits or props you want in frame. Photos are yours for personal use, printing and sharing included, once they're in the gallery.
How long does a session actually take?
Sessions run 15, 30 or 60 minutes, and the right length depends on how many spots you want. Fifteen minutes suits a single location. For anything longer, the route is agreed with your photographer in the booking chat, and in Tokyo distance is the limit: Shibuya Crossing and Meiji Shrine are about 2 km apart in a straight line, while Senso-ji is roughly 10 km from both.
How do we get to the spot?
You make your own way there, since transport isn't part of the photoshoot price. Tokyo's trains do most of the work: Meiji Shrine is about a minute on foot from Harajuku Station, and Shibuya Crossing is directly outside Shibuya Station. The exact meeting point is agreed at booking, and live location sharing in the chat covers the last few metres.
Want pro photos in Tokyo?
Compare Tokyo photographers →More Tokyo guides
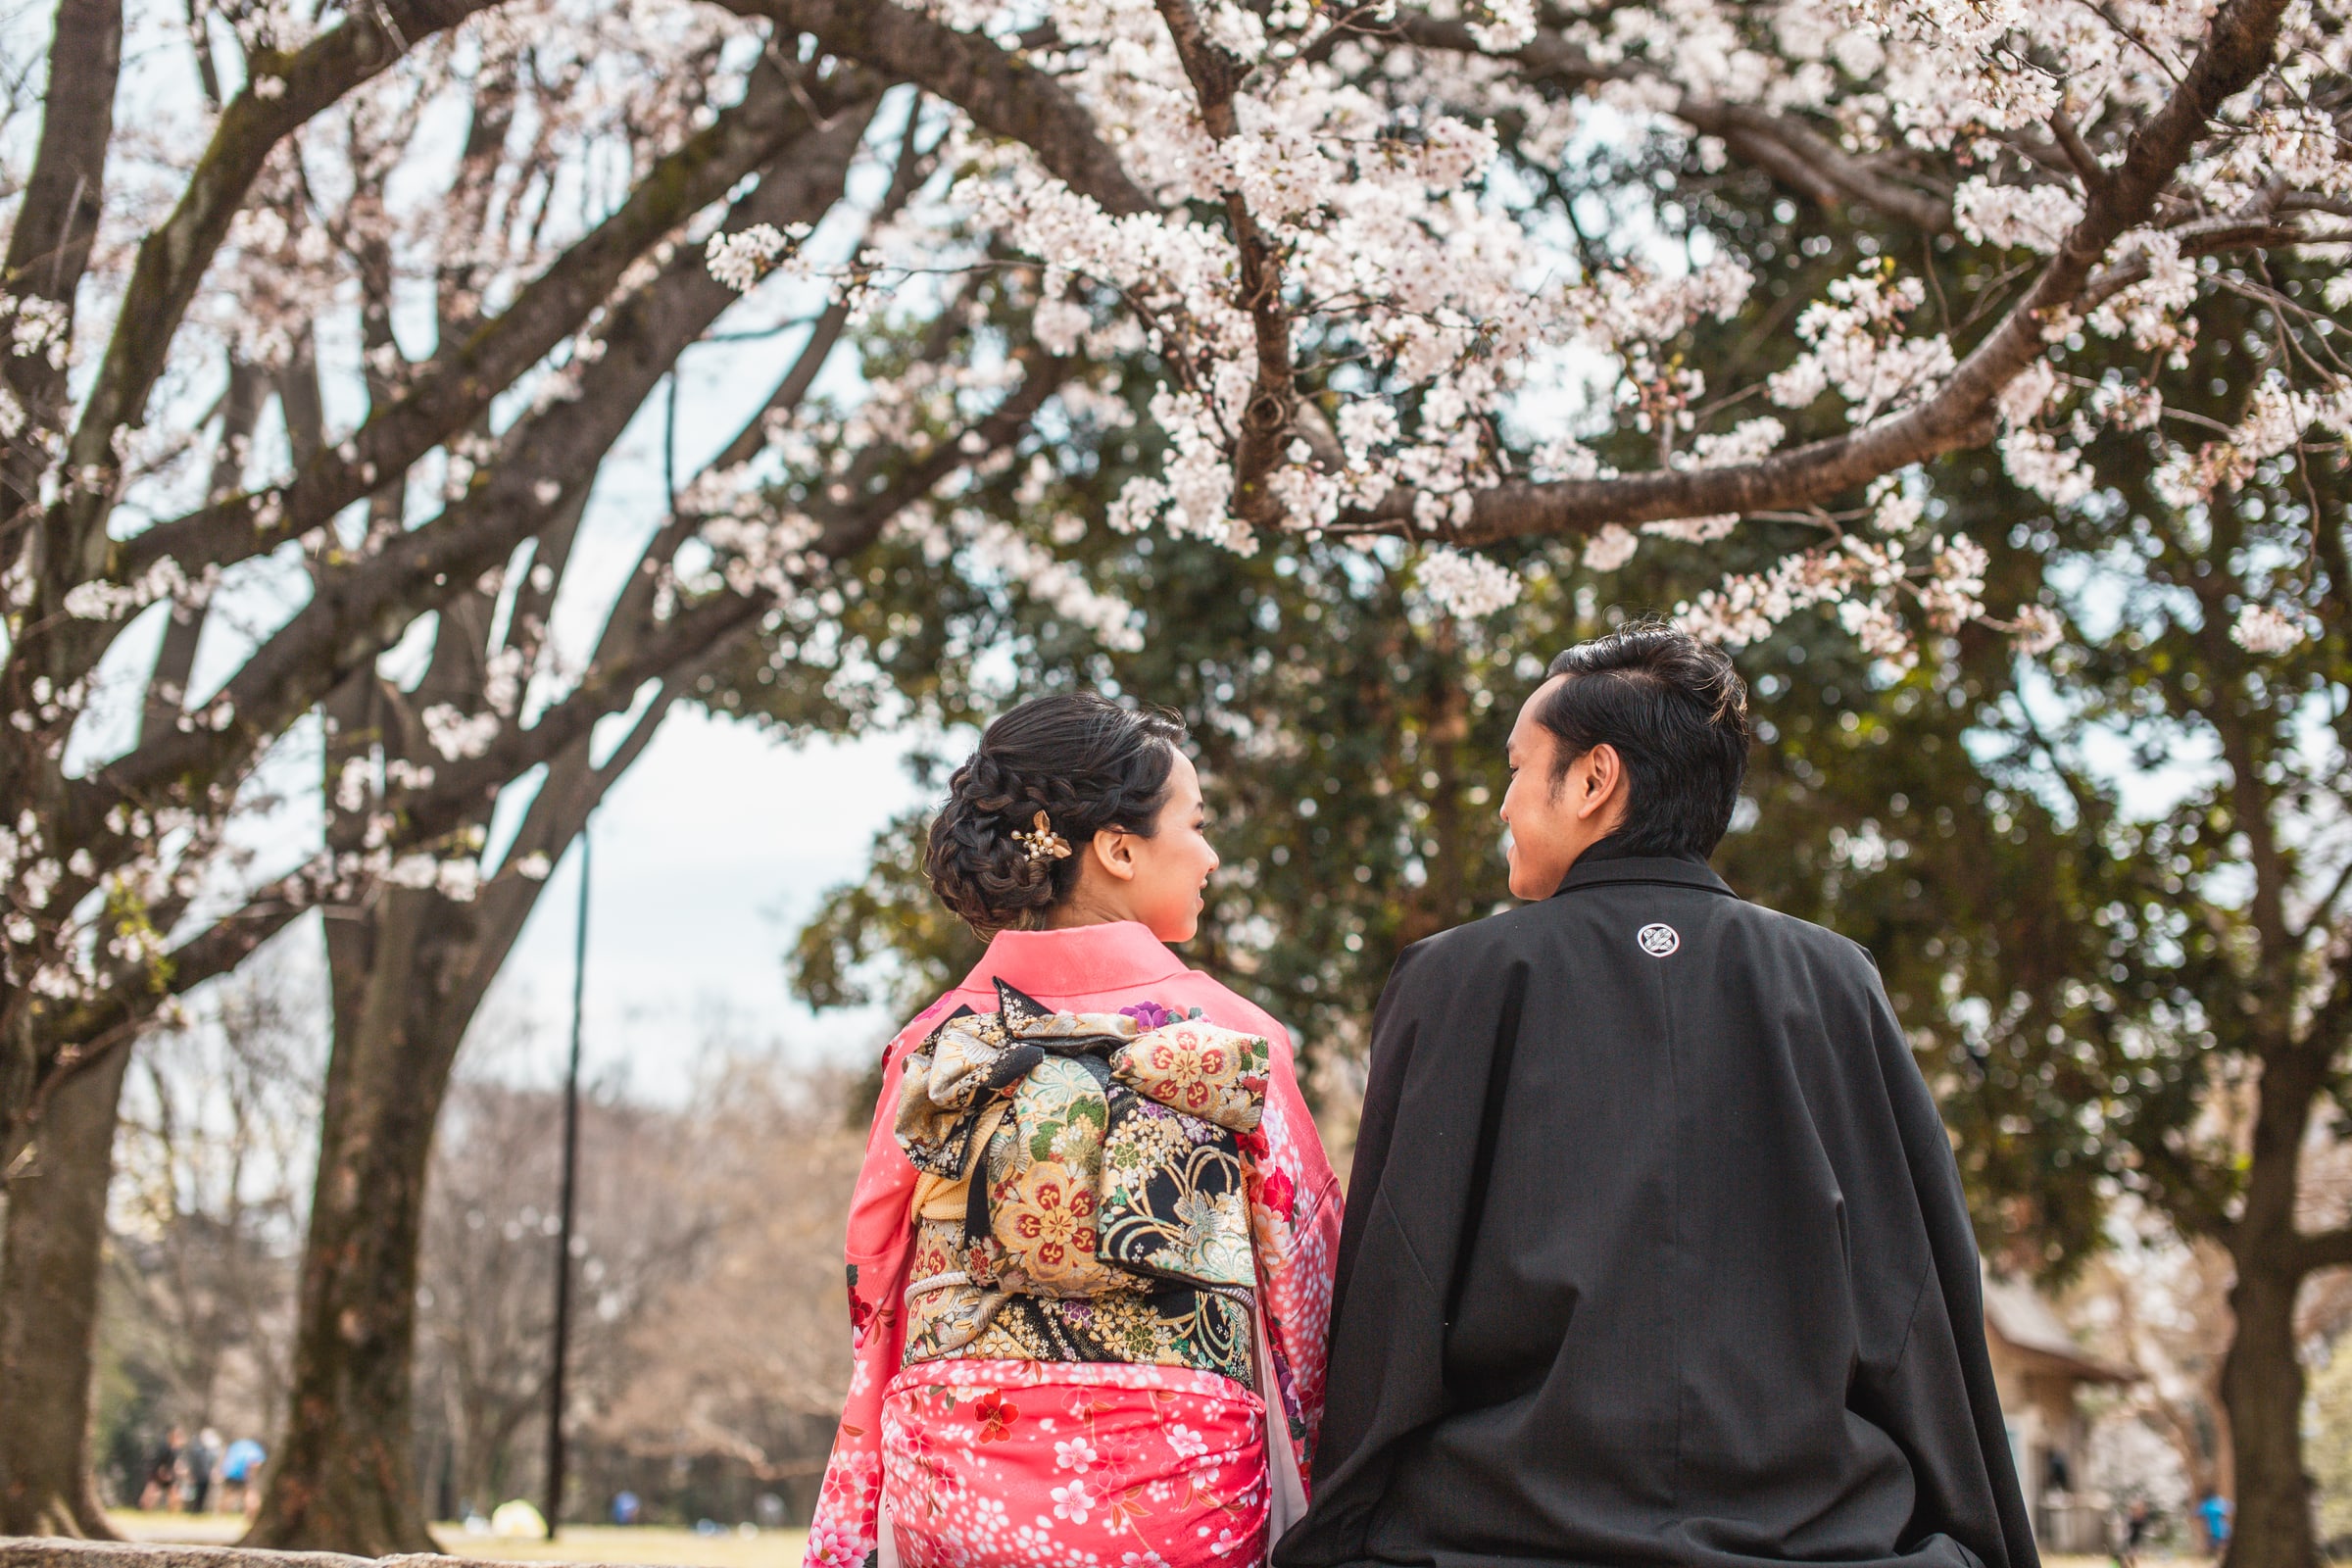
Elopements
Tokyo Elopement Photographer: Small Weddings, Real Prices
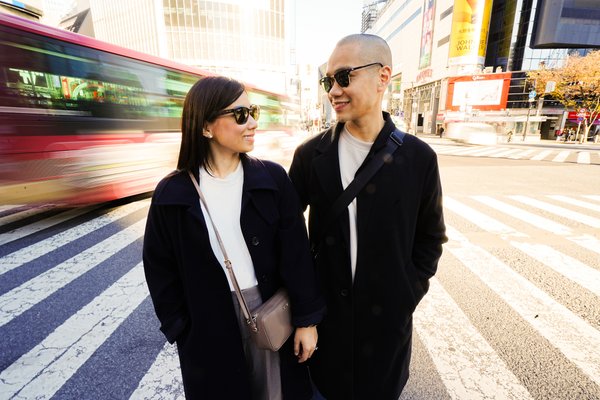
Couples
Couples Photoshoot in Tokyo: Romantic Spots, Posing and Prices
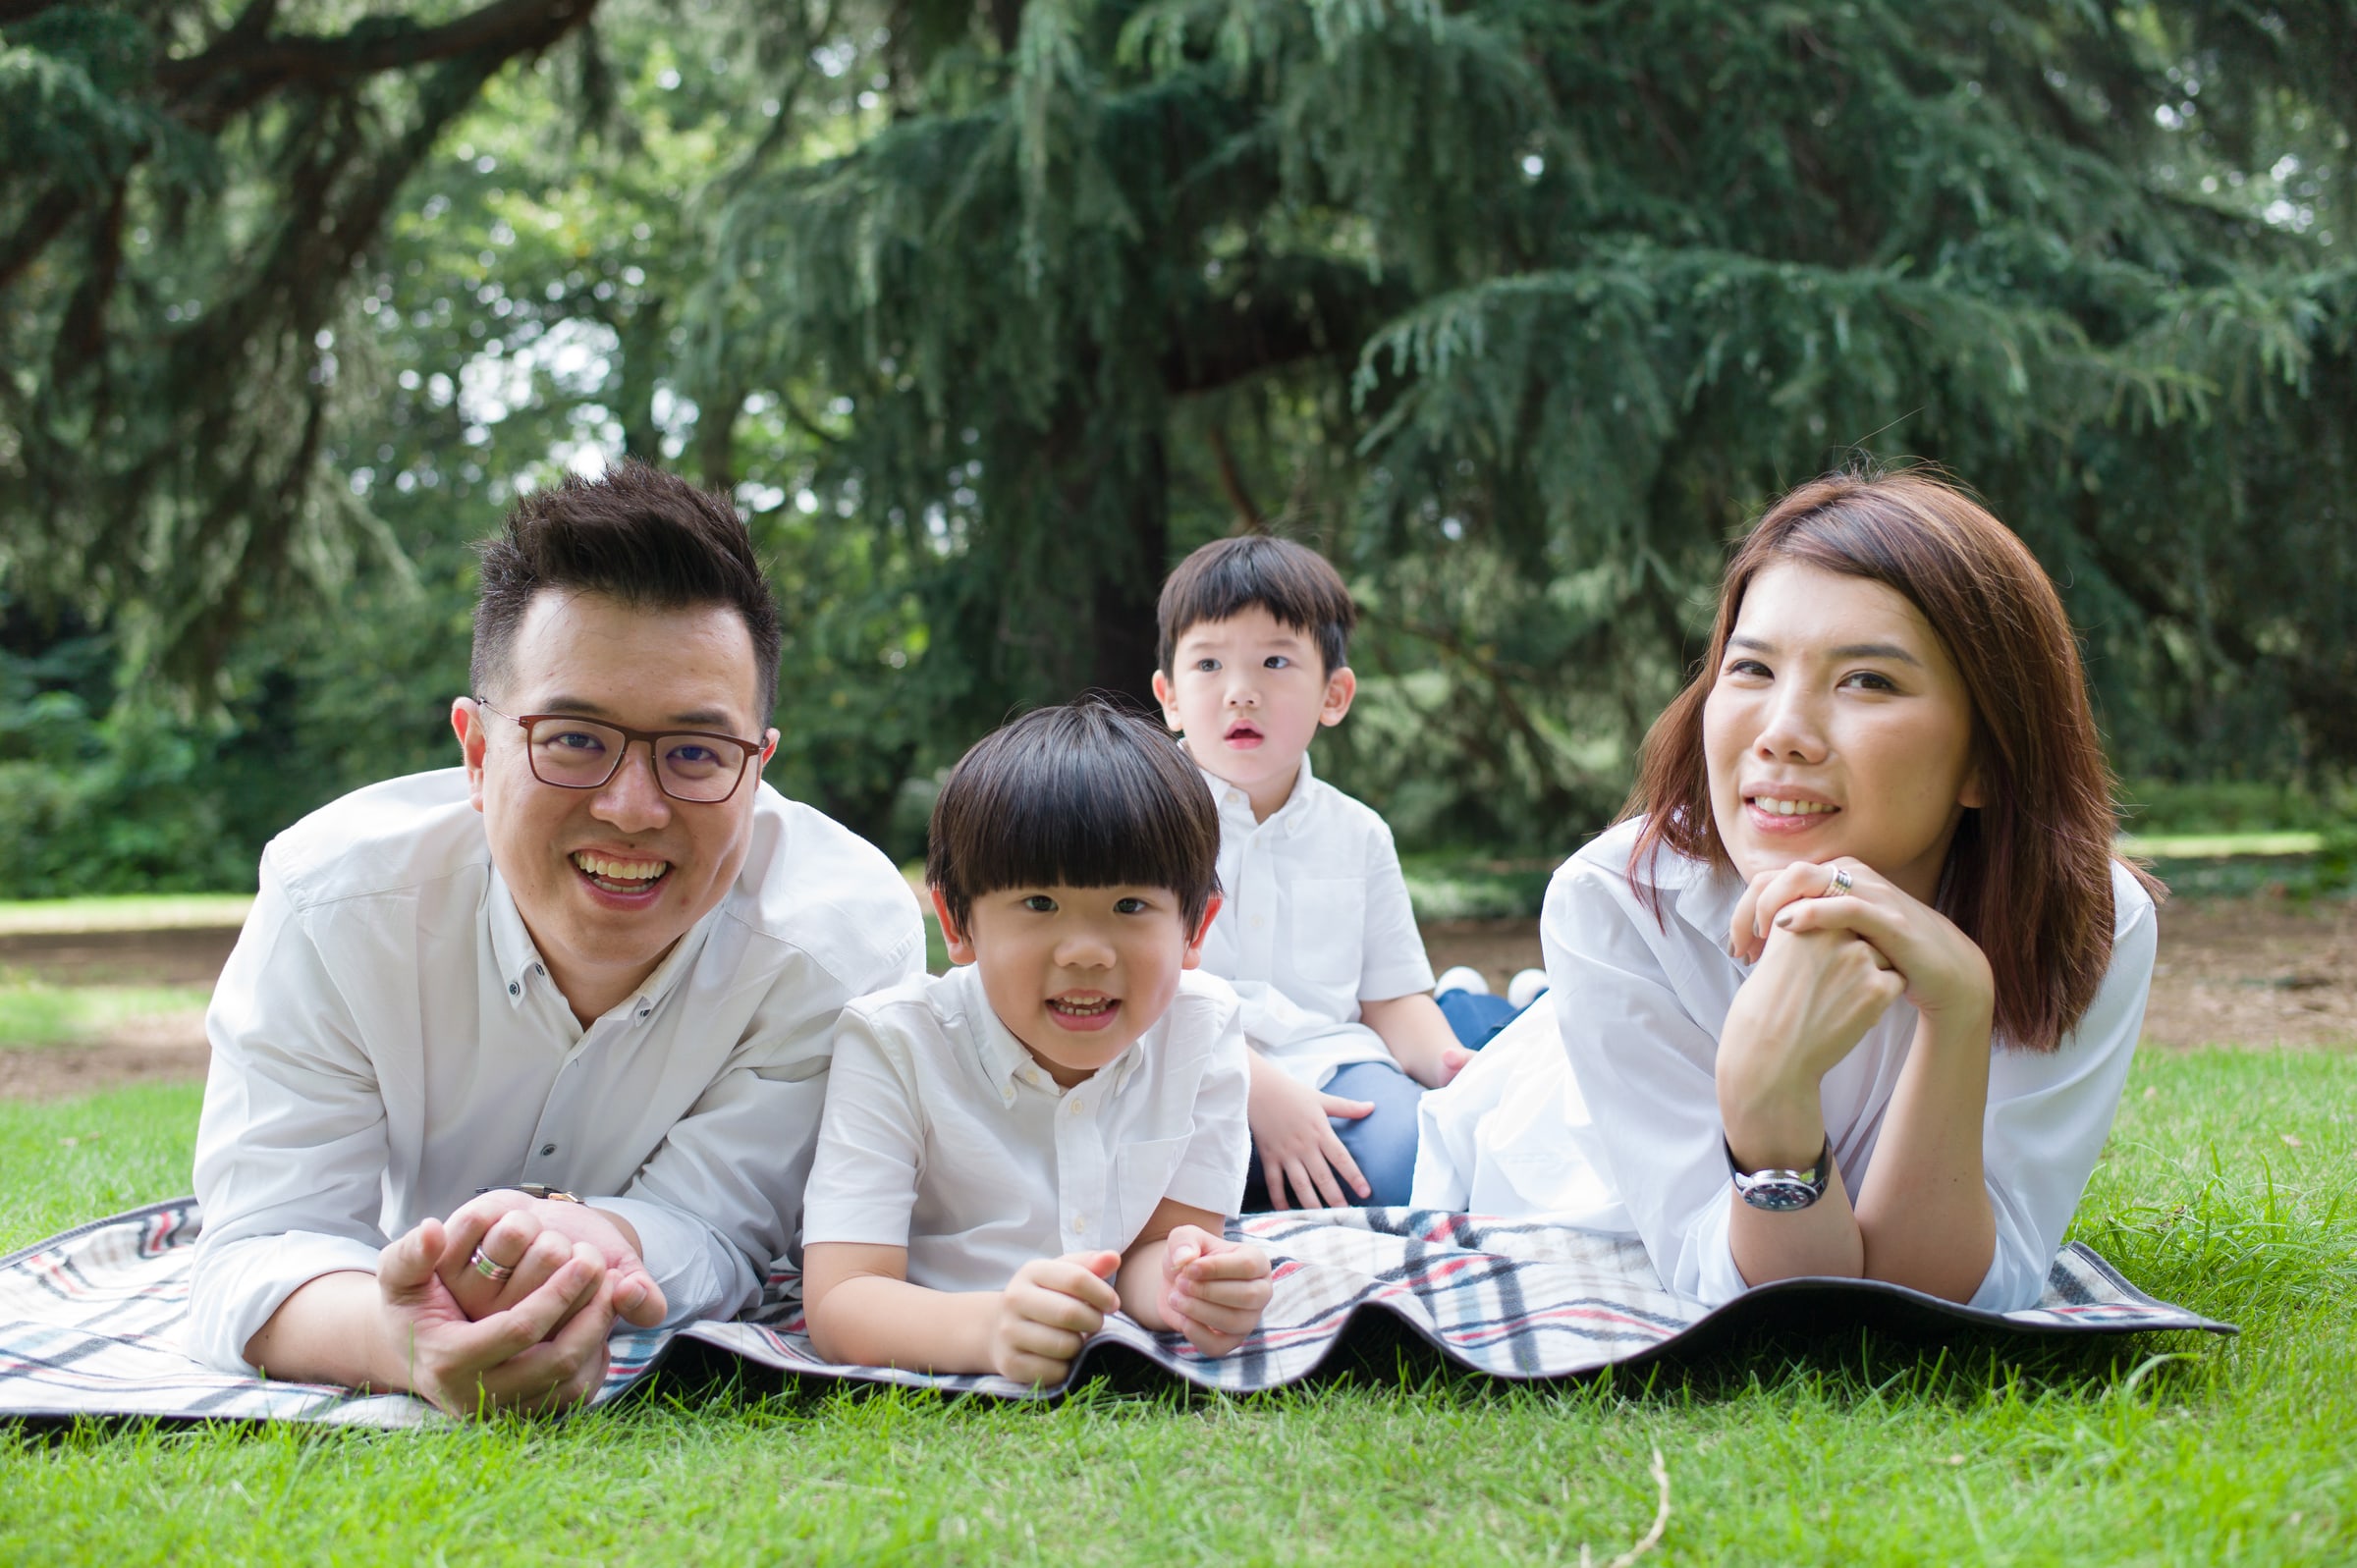
Families
Family Photoshoot in Tokyo: Spots, Timing and What It Costs
Proposals
Planning a Proposal in Tokyo? A Local Photographer’s Guide
Prices
How Much Does a Tokyo Photographer Cost? (2026)
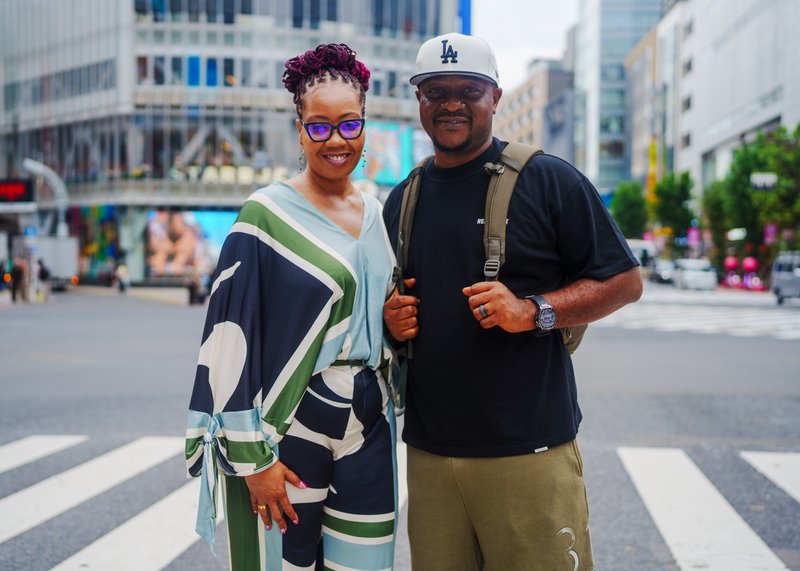
Photo spots
Best Photo Spots in Tokyo, Ranked by Real Photoshoots (2026)
★ 4.7 · Photos in 48 h
From €109